Getting Started
Get up and running with GameFlow in minutes by launching your first game server.
Step 1: Download the Xonotic Game Client
Download Xonotic. It runs on Windows, macOS, and Linux.
Xonotic is a free, open-source arena shooter that works perfectly for testing GameFlow's server hosting.
Step 2: Sign Up to GameFlow
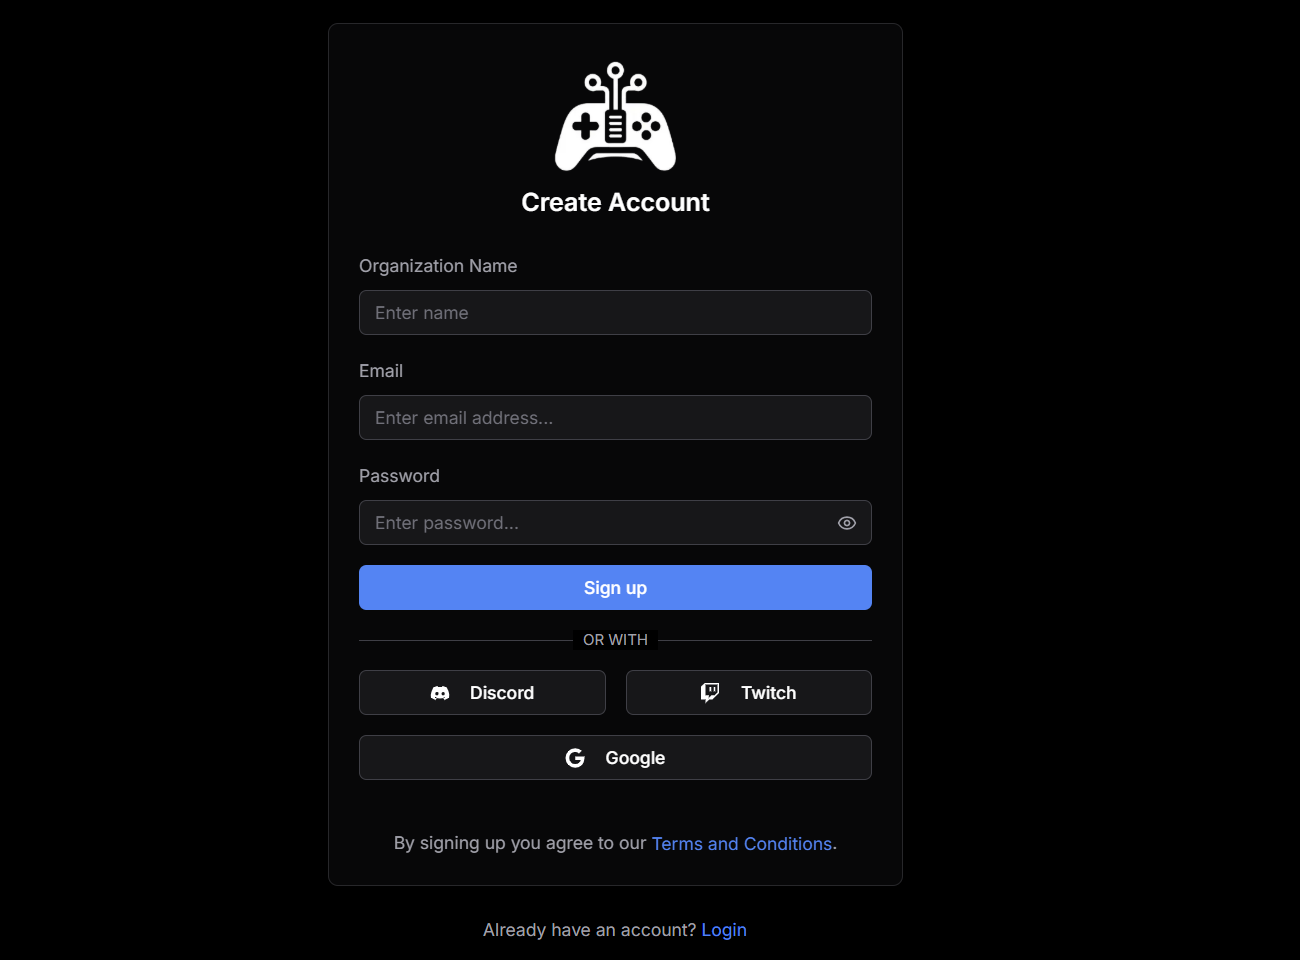
Head to GameFlow and sign up using your preferred authentication method.
Step 3: Launch a Server
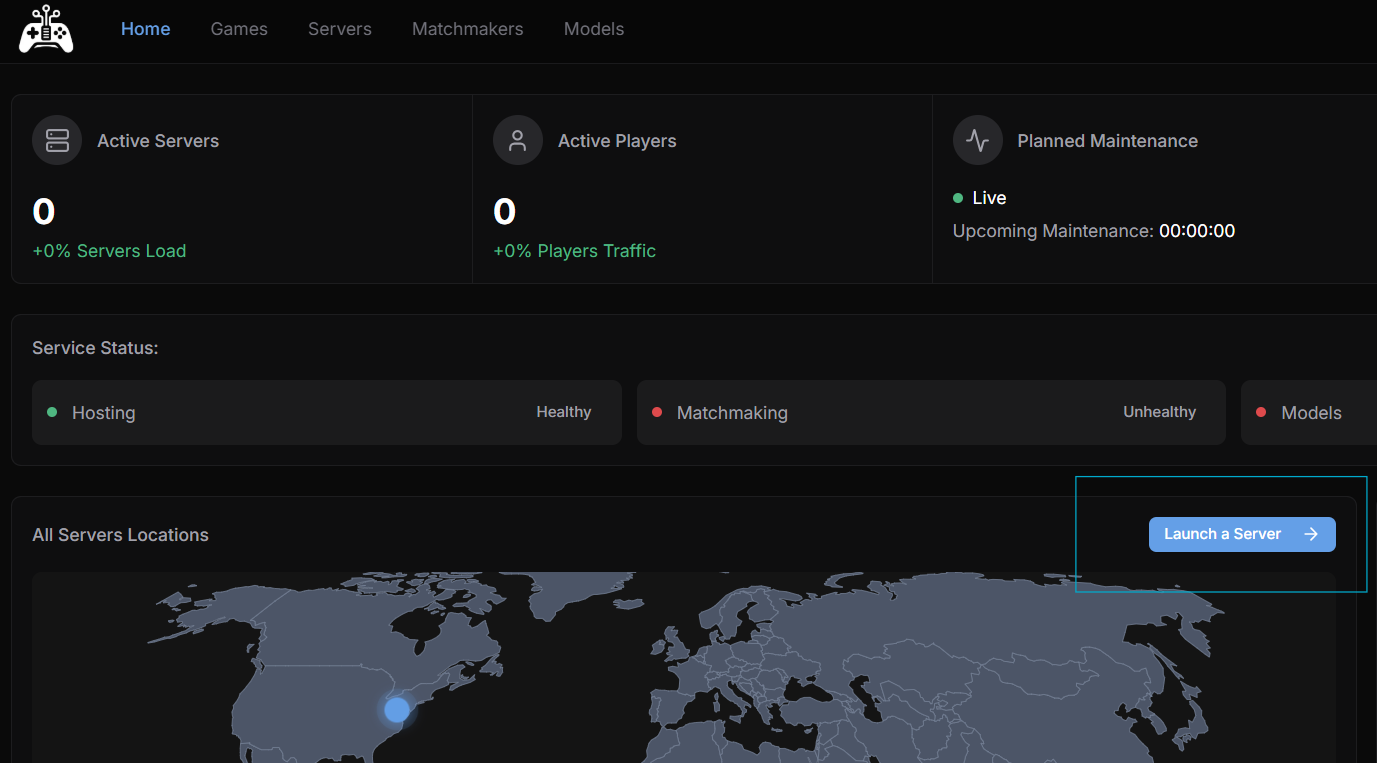
Click the Launch Server button to start a game server.
Step 4: Select Xonotic
Open the game selection menu, we've included a mixed of open source games that are available for new accounts so you can experience GameFlow faster.
From the selection menu, choose Xonotic as your game, then hit Run Test Server to start a short-lived game server just for testing.
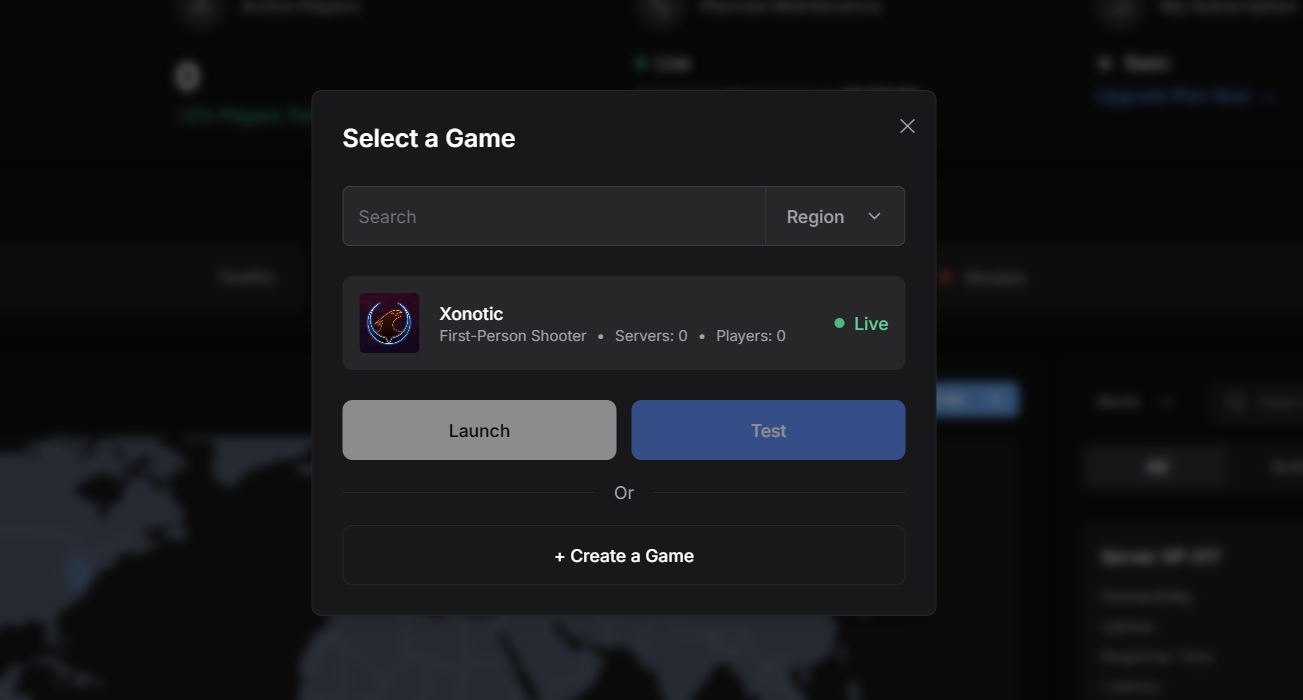
Test servers spin up quickly and shut down on their own, ideal for validating that your game server is configured correctly, reachable from your game client, and behaves as expected.
Step 5: Get the Server Connection Details
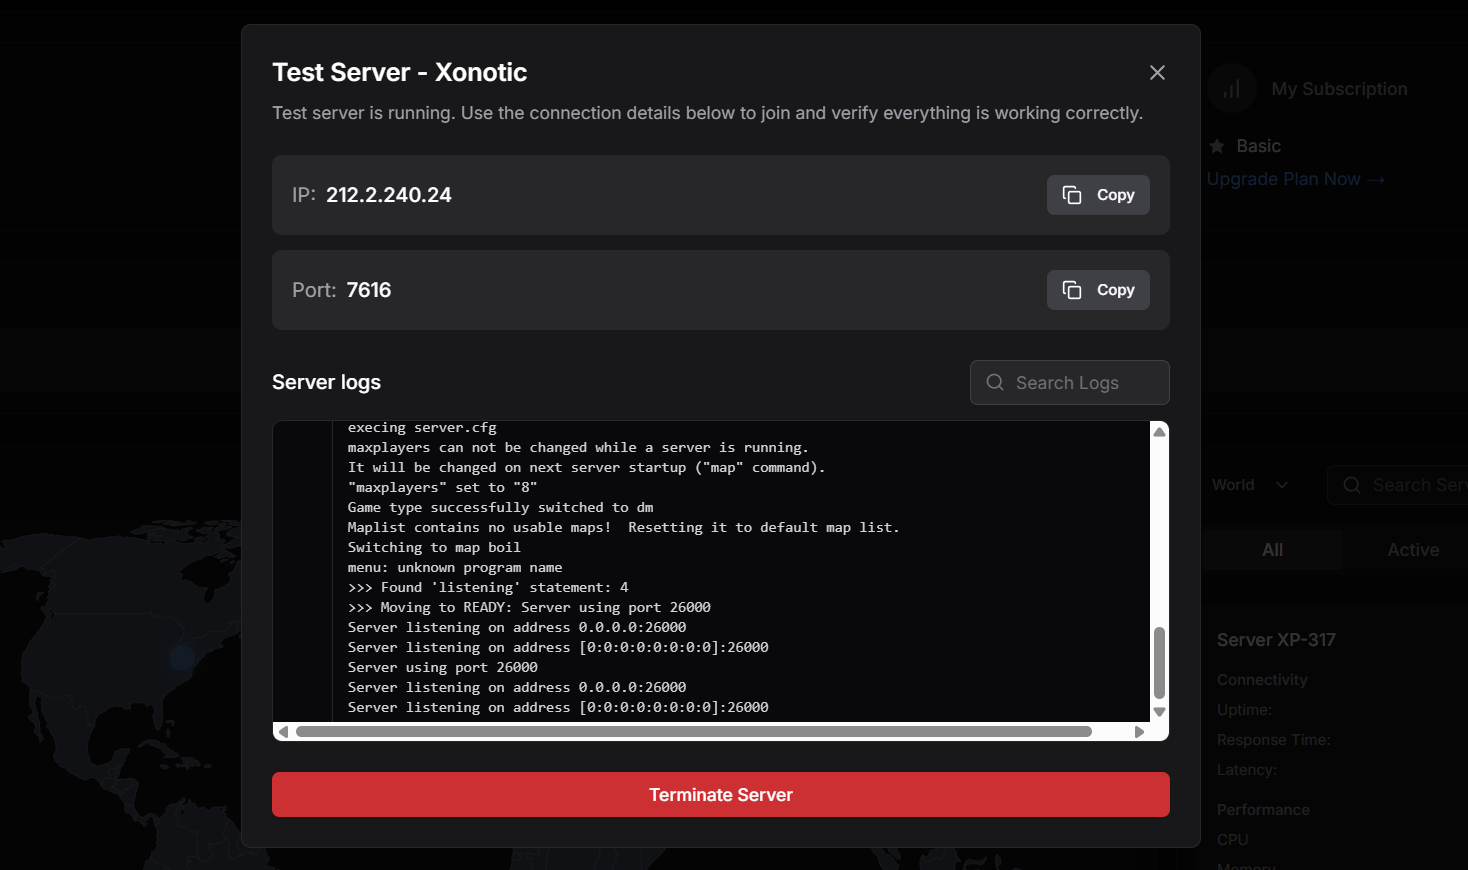
Once the server starts, you'll receive:
- IP Address & Port: for connecting to the server
- Real-time logs: for monitoring the server activity as it happens
Step 6: Connect and Play
Connect
Open the Xonotic game client and navigate to the Multiplayer section. At the bottom of the server browsing screen, you'll find the section to enter the IP address and Port. Enter the connection details provided by GameFlow with the format IP:PORT, then click Join to connect to your server.

Play
Once connected, you'll be in the game! Invite a friend or co-worker to join using the same IP and port, and start playing together.
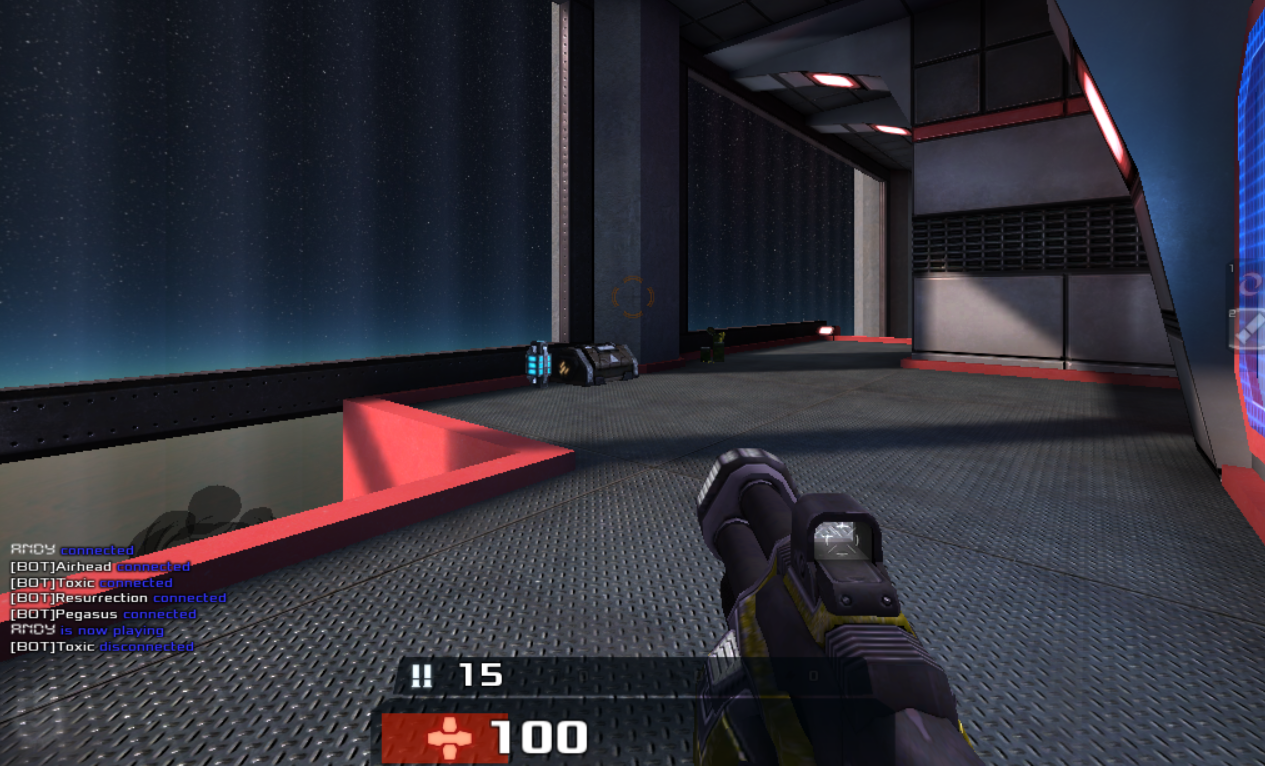
That's it! You've successfully launched and connected to your first game server in GameFlow.