Godot
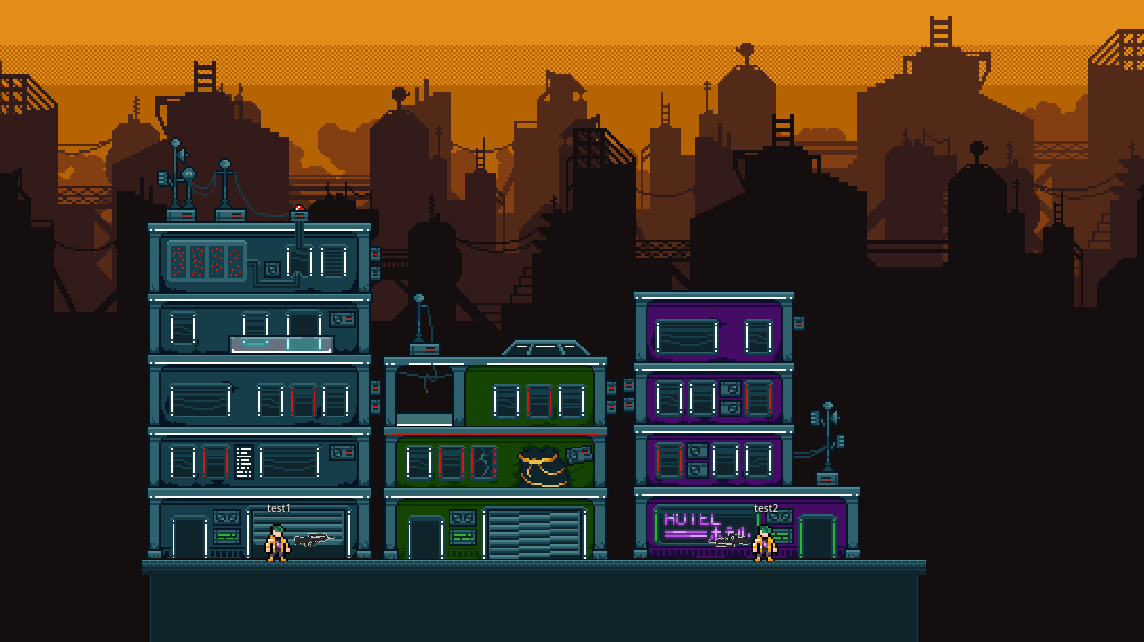
Bullet Mayhem is a 2D 1v1 shooter built with Godot that demonstrates dedicated server hosting on GameFlow using a direct connection (IP and port).
Prerequisites
- Access to the Bullet Mayhem repository (Early Adopter access required, contact GameFlow support)
- A GameFlow account
- Godot 4.6
Step 1: Clone the Repository
git clone https://github.com/GameFlowGG/bullet-mayhem
cd bullet-mayhem
Step 2: Open the Project
- Launch Godot 4.6
- Click Import on the project manager
- Navigate to the cloned
bullet-mayhemdirectory - Select the
.godotproject file - Click Import & Edit
Step 3: Install the GameFlow SDK
GameFlow provides a native Godot Game Server SDK that handles server lifecycle, automatic health reporting, and player tracking. Pure GDScript, no third-party dependencies.
- Clone the GameFlow SDK repo and copy its
sdk/godot/addons/gameflow/folder into your project'saddons/directory - (Optional) Enable the plugin in Project → Project Settings → Plugins; the SDK classes are plain
class_namescripts, so this step is not required
Requires Godot 4.4+.
Step 4: GameFlow SDK Integration
Bullet Mayhem creates one GameFlow instance for the server process and drives the lifecycle from it. Off GameFlow (running locally), the SDK switches to local mode automatically, so the same project runs everywhere with no extra configuration.
Initialization
Create the client and connect on the server only:
var gf := GameFlow.new()

func _ready():
    multiplayer.peer_connected.connect(peer_connected)
    multiplayer.peer_disconnected.connect(peer_disconnected)

    if "--server" in OS.get_cmdline_args():
        await gf.start()
        hostGame()
Player Tracking
Report players as peers connect and disconnect. This keeps the server alive (GameFlow reaps servers reporting zero players past the idle timeout) and powers the live counts in the dashboard:
func peer_connected(id):
    if multiplayer.is_server():
        await gf.players.track(str(id))

func peer_disconnected(id):
    if multiplayer.is_server():
        await gf.players.untrack(str(id))
The player list capacity comes from the Max Players per Server value you set on the game in GameFlow, so the server doesn't set it. See Player Tracking for details.
Server Start
Signal readiness once the server is listening. Health reporting then starts automatically, so there's no manual health loop to maintain:
func hostGame():
    peer = ENetMultiplayerPeer.new()

    var error = peer.create_server(server_port, 2)
    if error != OK:
        return

    peer.get_host().compress(ENetConnection.COMPRESS_ZLIB)
    multiplayer.set_multiplayer_peer(peer)

    await gf.ready()
Step 5: Export and Zip
- In Godot, go to Project → Export
- Click Add... and select Linux/X11
- Click Export PCK/Zip → save as
game.pck - Create a
.zipfile containing the exported PCK
Step 6: Create a Game on GameFlow
- Log in to your GameFlow account
- Navigate to the Games section → Create New Game
- Set Name to
Bullet Mayhem
Step 7: Configure Server Settings
- Set Memory to
1GB - Set vCPU to
1 core - Set the Port to
8910 - Enable the us-east region
Step 8: Deploy and Test
- Upload the
.zipfile in the builds section - Click Create Test Server, wait for the server to reach "Ready"
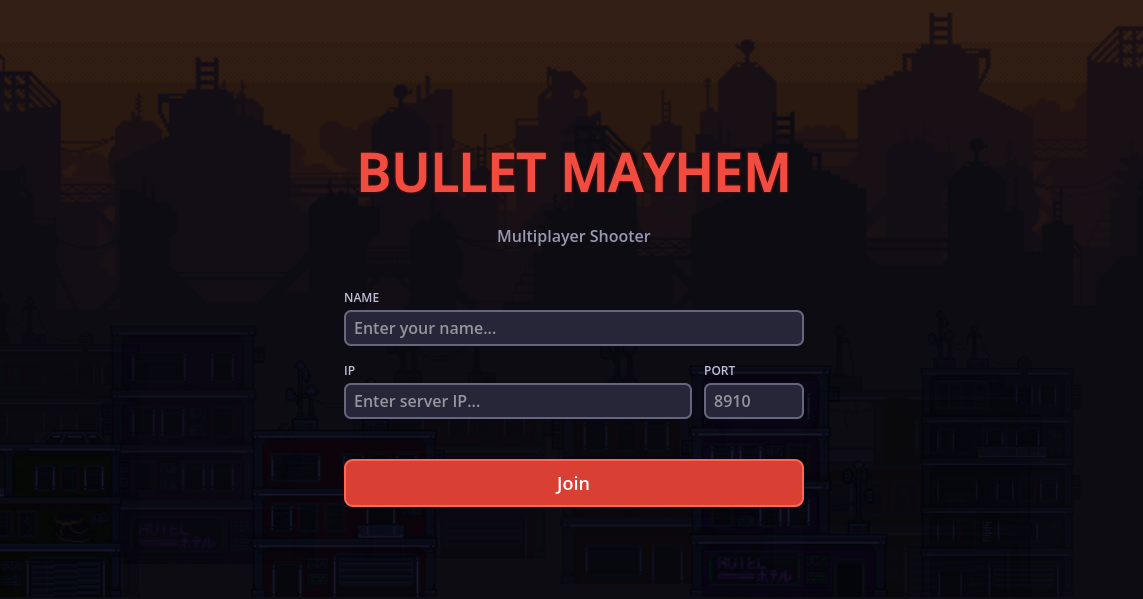
- Run the game locally in Godot, enter the server IP and port, and click Join